

Bottle Conditioning
Those that know me know that I really, really dislike bottling. I made the switch to kegging several years ago and haven’t looked back. That is, until I decided to level up on my Belgian Ales. With bottle conditioning you can achieve higher levels of carbonation, more effervescence that is possible with kegging; especially when you need to turn those bottles into a competition. Bottling highly carbonated beers from the tap is nearly impossible. I’ll be talking today about the process I use to bottle my Belgian ales, though this same process can be applied to any beer style.
Sanitize, Sanitize, Sanitize!
The very first thing that needs to be done is to sanitize all of your bottles that you’ll need to bottle your beer. Although I currently use StarSan and a funnel here; I’ll probably be reinvesting in a bottle rinser and tree soon. This is my 5th full batch sanitizing bottles this way and while it works, it’s just not as quick as the old bottle rinser.
And remember, it’s not just your bottles and caps that you have to sanitize in this step. Go ahead and get your bottling bucket ready, along with your siphon, tubing and bottling wand!

Sweeten it up!

I like the priming sugar calculator available from MoreBeer to determine how much sugar I need to add to the batch for the desired carbonation. It’s extremely simple to use; you can enter your desired volume of CO2 that you’d like to end up with, or choose the style you’re carbonating and it will fill in the volume with a style-accurate number. Enter the temperature your beer ended fermentation at, in my case that’s 72F with this Belgian Tripel, enter your batch size and hit ‘GO’.
In the example I’m using today I used 250g of corn sugar. MoreBeer gives you options for several different types of priming sugar, some give a little more flavor character than others. I chose dextrose because it’s inexpensive, flavor neutral and produces what I think is a smaller amount of sediment in the bottle than some of the other available sugars.
Now, just add your priming sugar to a pot with just enough water to dissolve and bring it up over 165F in order to pasteurize. Then, just pour the sugar syrup into the bottom of your bottling bucket and get ready to rack your beer on top!
Look at that Rack!
There isn’t a lot to say about racking, or transferring, your beer. It’s not very exciting but how you do it can have a profound effect on the finished product.
Pay attention when transferring your beer, do everything you can to prevent agitating or splashing. Your beer is very vulnerable to oxidation while being openly transferred in this manner.
Oxidation here can cause your beer to darken in color, take on off-flavors like cardboard or an undesirable sherry-like quality. (The sherry is actually a good thing in some aged beers like barleywines, but that will happen naturally with time and age in the bottle. Even if you’re bottle conditioning a barleywine you don’t want to add any avoidable oxygen at this step).
Once all of your beer has been transferred into the bottling bucket, you have a decision to make: do I stir? If you added your sugar solution at the beginning and had the racking tubing pointed to where you had a nice, gentle swirling during the entirety of the racking process then chances are your solution is thoroughly mixed into the beer and no stirring is required. If you waited and added the solution to the top… You can (with a sanitized utensil) VERY carefully and gently stir to get a good distribution. Stirring here is a good way to accidentally oxidize your beer, so if you feel like you need to stir, be extremely careful to do the minimum necessary!!!!

(The bubbles in the line here are actually CO2 coming out of solution, depending on your racking setup, this may not always be the case).
To the Bottle, from the Wand!

Getting toward the end of the process now; only the repetitive parts remain. You’ll connect your tubing and bottling wand to the spout on your bottling bucket here. The bottling wand is an important tool as it’s spring-loaded valve allows the beer to only flow when it’s pressed down onto the bottom of the bottle. This way you don’t waste beer frantically moving from one bottle to the next, and you’re able to fill from the bottom of the bottle in order to reduce oxidation. (You’re probably starting to see a trend here).
I prefer to cover my bottles with caps as they’re sanitized to keep any dust from floating into the top of the bottle, removing the cap to fill and then replacing the cap on top as I move from bottle to bottle.
Find a comfortable stool to sit on; this part requires you to be below the level of the bottling bucket as you fill up all of your bottles with your delicious brew.
When you get toward the bottom of the bucket you can place a towel or something else to lift the back of it so that you can get as much beer out of the bucket as possible. Once you pull air into the tubing hose, you’re done as any air mixed in at this point will cause oxidation.
(Tip: a lot of people will open the door of their dishwasher and use that as a kind of workbench, placing the bottle to be filled on the open door so that any spillage can be easily cleaned up by just closing the dishwasher).
Cap-tivating!
Getting even closer to the end of the process, and the end of this post! Now that we have our lovely beer in our bottles, it’s time to seal the deal.

I was fortunate enough to have this bench capper given to me, but the standard wing capper will work just as well on standard bottles. (I don’t think it works very well on Belgian or ‘squat’ style bottles though).
This process ends up going fairly quickly once you get into a groove. Just load the bottle into the capper and crimp the cap onto the bottle, ensuring you get a good seal.
Santé!
This is the hardest, followed by the best part. Once everything is capped, you just have to put it away someplace to sit at room temperature for 2-3 weeks. This gives time for your yeast to digest all of that sugar you just gave them and convert it into CO2 for your beer.
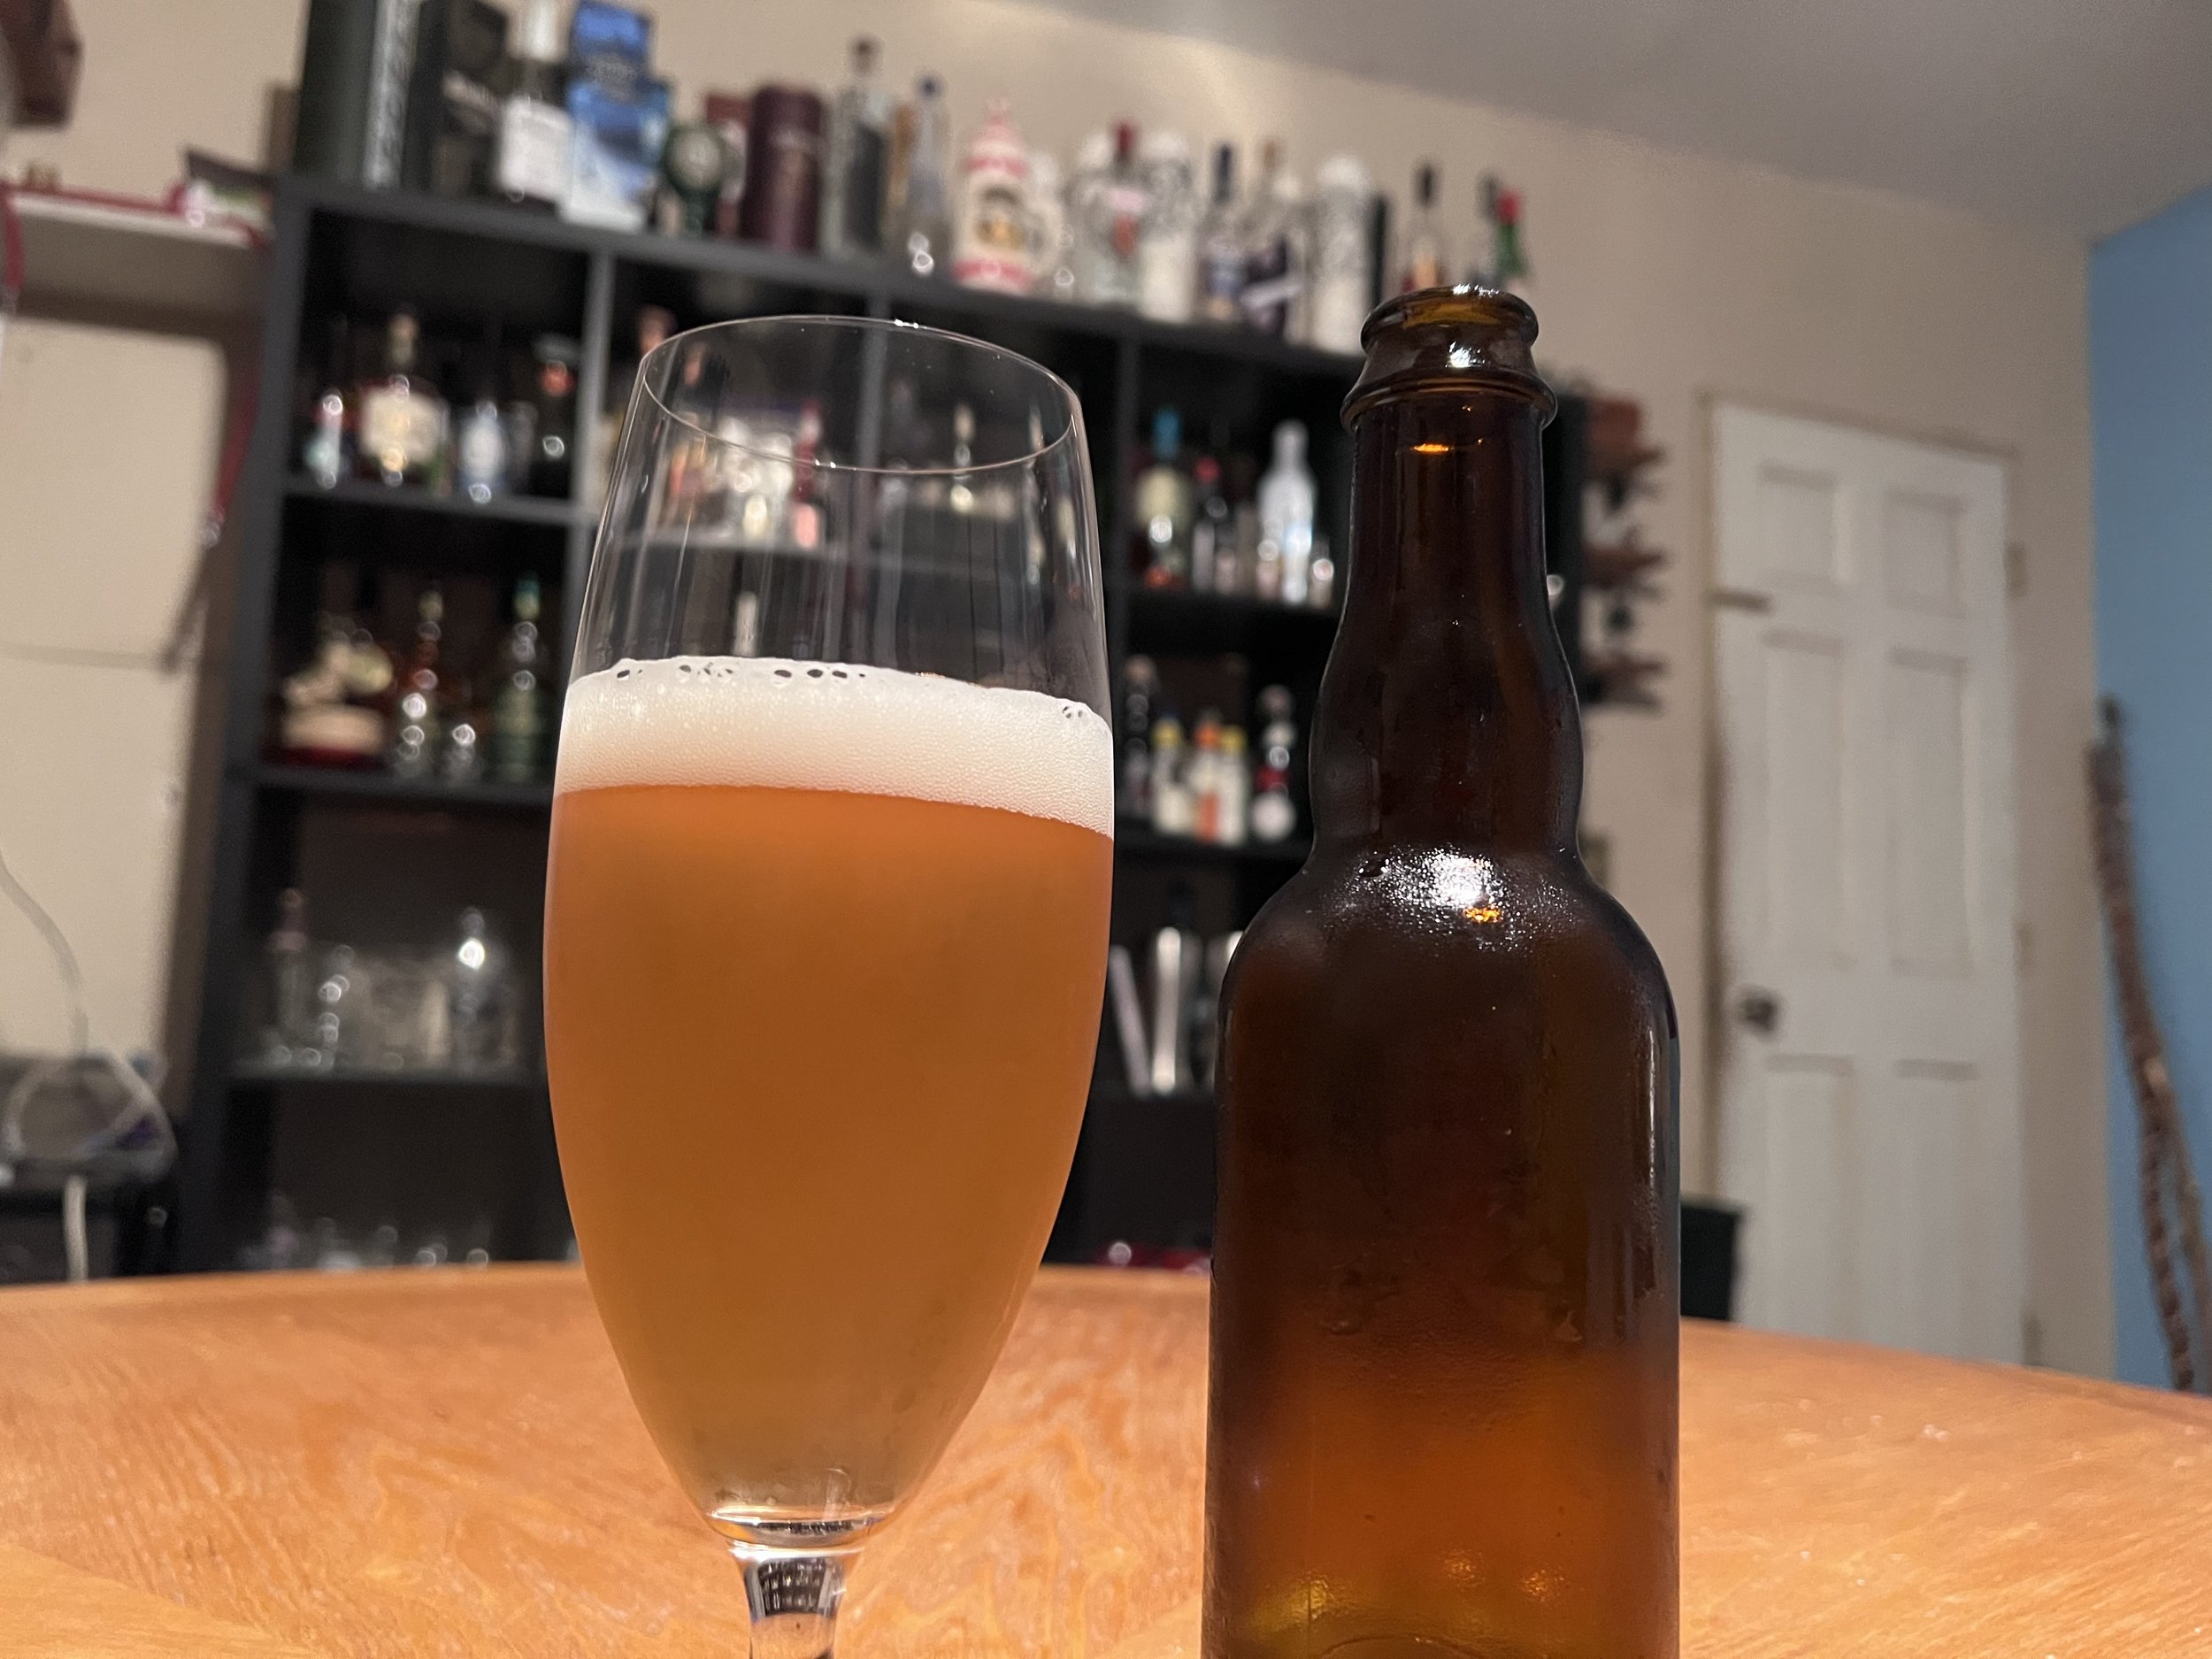
After all of that excruciating waiting, sit a bottle into your fridge for 24 hours or so to let the sediment settle into a nice cake on the bottom of the bottle. Once your beer is nice and cold, pop a top, pour into a nice glass and enjoy!
I love the way the bubbles look on a highly-carbed bottle conditioned Belgian ale. Nice foamy head with an effervescence that just lights up the glass.